Showing posts with label Designer Mystery Block of the Month. Show all posts

Saturday, October 27, 2018

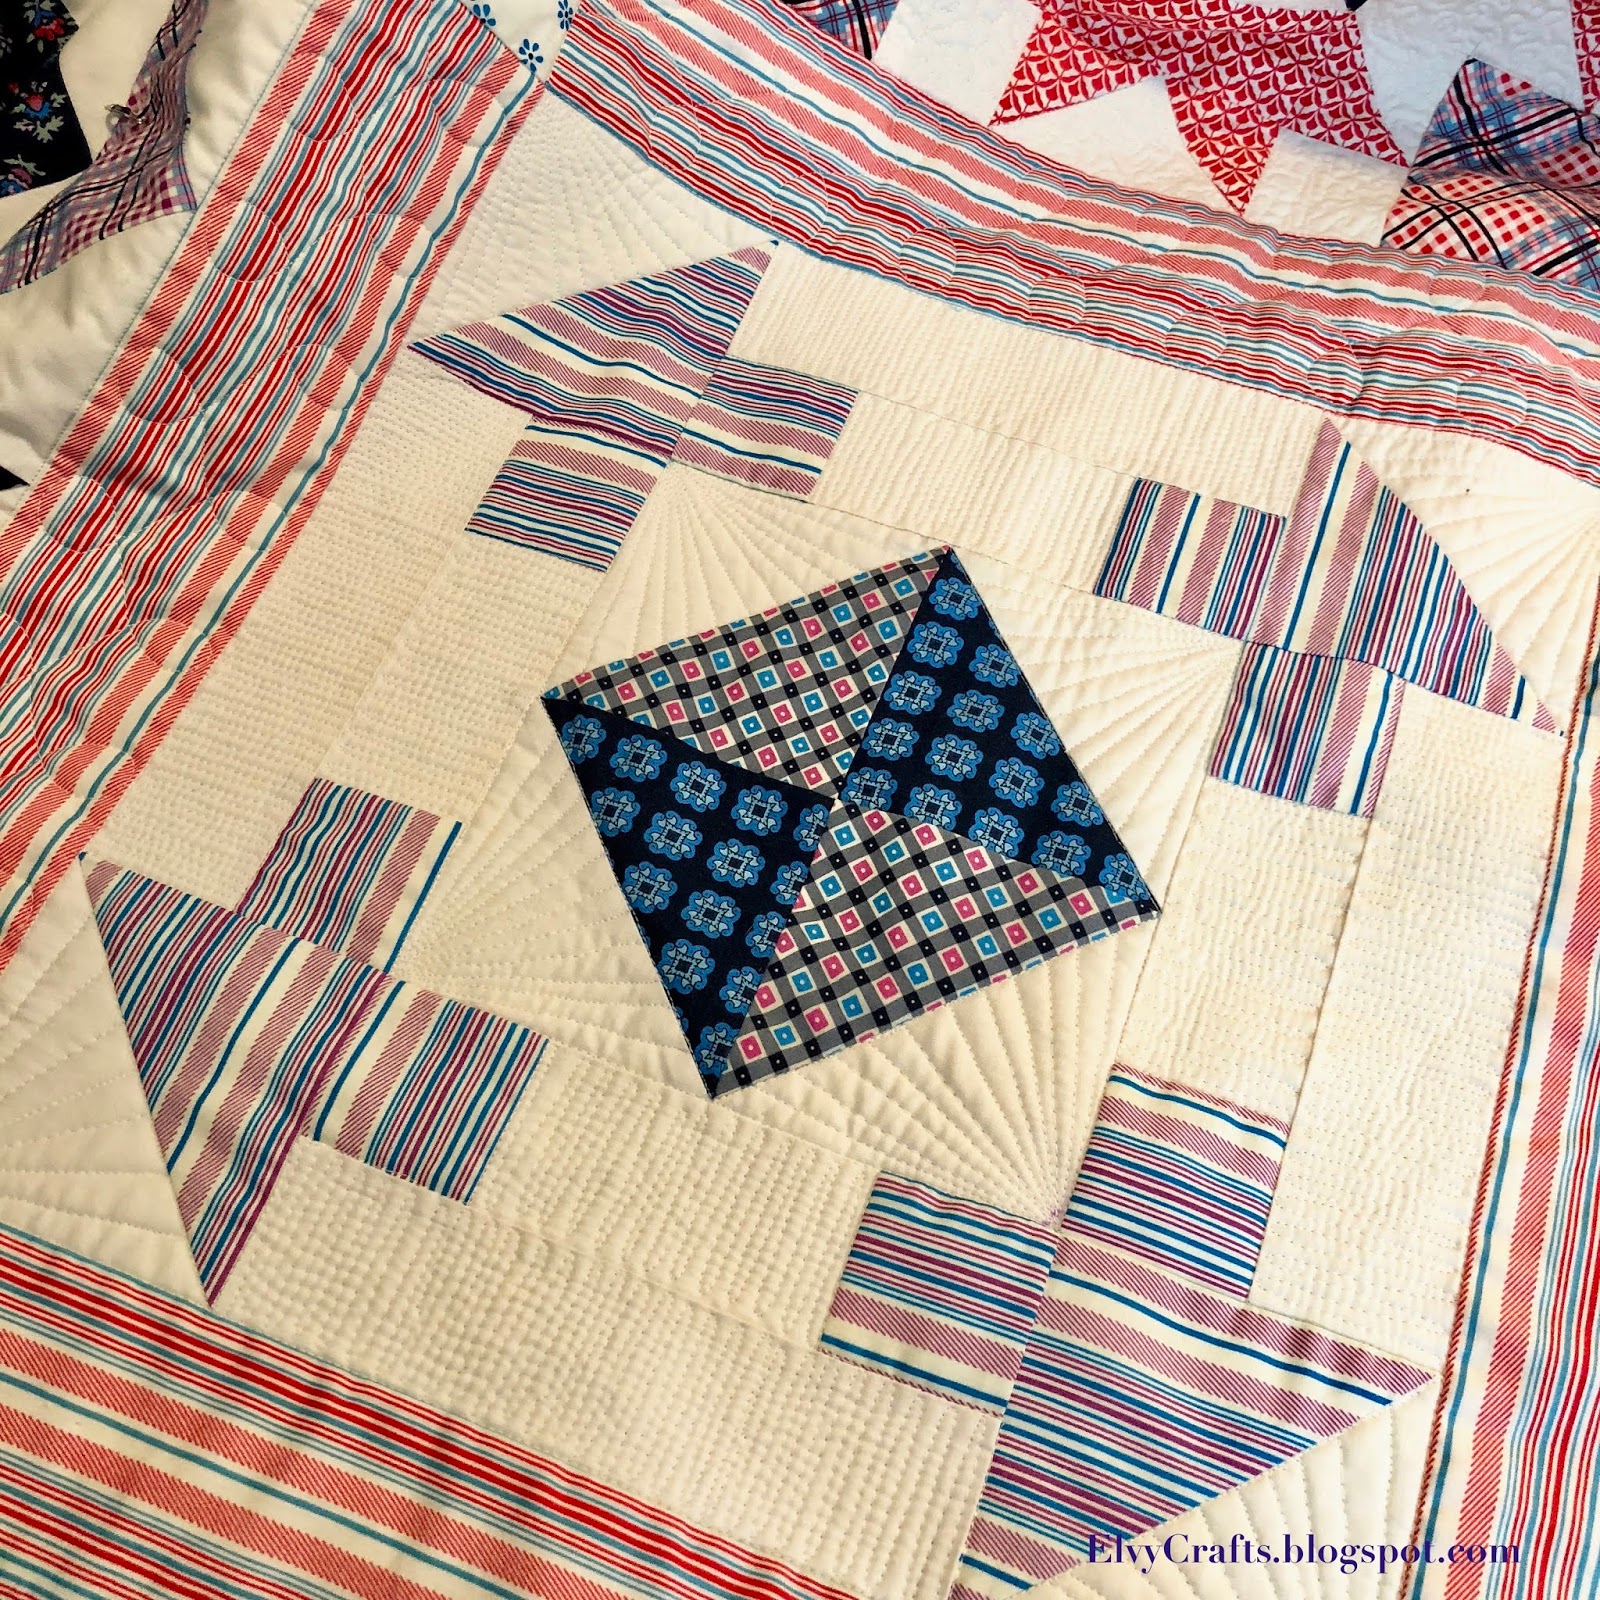
Quilt top finish - 2012 Designer Mystery BOM

I finished up this quilt top a couple of weeks ago, but didn't have time to post it until now. The pattern directions for each block were extremely well written. I only deviated in some parts, for instance, where the directions were for flip-and-trim flying geese, I used the four-at-a-time no-waste method.


I saw that Fat Quarter Shop just posted the 2019 Designer Mystery BOM. So tempted, but I already signed up for the Fig Tree Farm House Mystery Sampler BOM. It was a bit pricey, but I'm glad I signed up, as I see that it is now sold out.


Sunday, August 12, 2018

Free Motion Quilting Progress

Slowly but surely, I'm getting there. It took me a bit to get used to free motion quilting on a domestic sewing machine. It's not perfect, but it will do. :) I am about half-way done, four more blocks and the final border.


I took a little break from the quilting and put together this sweet little block. I am somewhat sheepish to confess that it is the first block from Fat Quarter Shop's Designer Mystery Block of the Month 2012. One down, 11 more to go!


Wednesday, October 24, 2012

Designer Mystery Block of the Month #9 and MQX West

This is the 9th block in this series -- just 3 more to go! I do enjoy putting these blocks together, but they are time consuming. I think I have the setting all planned out once I have the blocks completed, but that will probably be a few months down the road at my current pace!


DM BOM Block 9

I have also been working on the October Stash Bee blocks -- they are really cute, but I think I'll wait until I have all four blocks complete before I post about them.

Finally, last week I was able to attend MQX West, the Machine Quilter's Expo.  It was SO cool!  I was somewhat intimated at first, thinking I might be out of my league.  But it all turned out great -- I met some nice people, and everyone was very enthusiastic and supportive. 

I was able to take a handful of classes, including classes from Angela Walters and Gina Perkes.  These are examples of Angela's and Gina's quilting awesome-ness.

This is a sample that Angela brought to class on quilting modern quilts.  The straight lines were done with a ruler, but everything else was free-hand FMQ.

Another section of the same quilt by Angela Walters -- she demonstrated both quilting motifs during class.


This is Gina Perkes' blue ribbon quilt that was on display -- it is called "Ambrosia."  The quilting was completely hand-guided.  I always wonder how long a project like this took?
Detail of quilting motif from Gina Perkes' Ambrosia quilt.  This picture is just an example of how intricately quilted and pieced this quilt was -- absolutely amazing.

Wednesday, August 29, 2012

WIP Wednesday and BOM Rehab

WIP Wednesday at Freshly PiecedPhotobucket This week was somewhat of a transitional week -- the boys just finished the last of their summer camps, and we are now getting ready to go back to school (finally, phew). So, given all that, plus work and visits from out-of-town family, this was all I was able to complete. It's the eighth block from the Mystery Designer BOM 2011.  Yes, that's right, I'm still that far behind.  I'm linking to these two awesome blogs today!Designer BOM 8

The major breakthrough with this block was I finally discovered spray starch. It's a wonderful. I don't know why I didn't do it before, except that it gets my iron all gummy after a while.

Wednesday, August 15, 2012

WIP Wednesday and Giant Churndash Tutorial (Part 2)

I don't think I've ever done this before, but I already have my binding prepped!  For not just one, but two quilts!  Are worlds colliding yet?
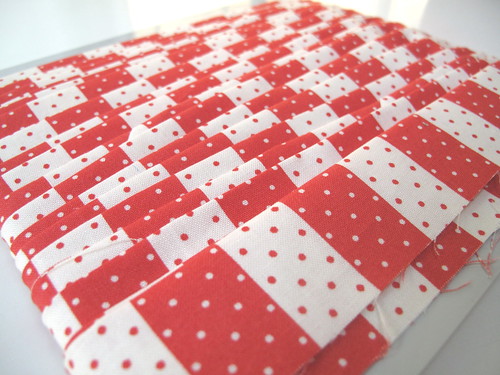
Churndash binding
Vintage Modern binding for Giant Churdash
Scrappy starts binding
Basic Gray binding for Scrappy Hunter's Stars
That said, here are the rest of the instructions for the Giant Churndash blocks.  Click on this link to view the original post.

CUTTING INSTRUCTIONS - SOLID FABRIC
You will need approximately 3 yards of a contrasting solid -- for this quilt I used Kona in white.

Cut (7) strips 8.5" x WOF; keeping the strip in two layers, subcut as follows:
a. (2) strips - 8.5"; 8.5"; 4.5" - you should end up with (8) 8.5" square and (4) 8.5" x 4.5" rectangle;
b. (1) strip - 8.5"; 4.5", 4.5" - You should end up with (2) 8.5" square and (4) 8.5" x 4.5" rectangle
c. (4) strips - 4.5" rectangles - cut a total of 28 rectangles - there should be some left over fabric

Cut (5) strips 9" x WOF - subcut each strip into 9" squares for a total of 18 squares.

Make the half square triangles (HST)
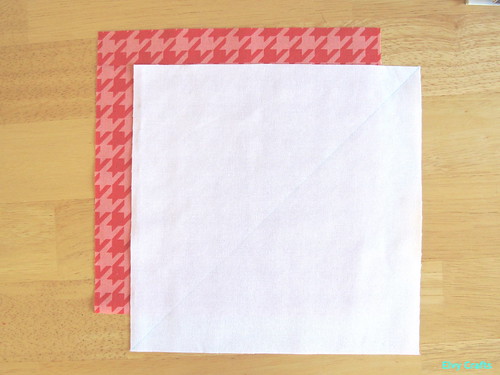
Tut 1

Using one 9" square of the solid, draw a diagonal line through the center. Layer with one 9" print square like so.
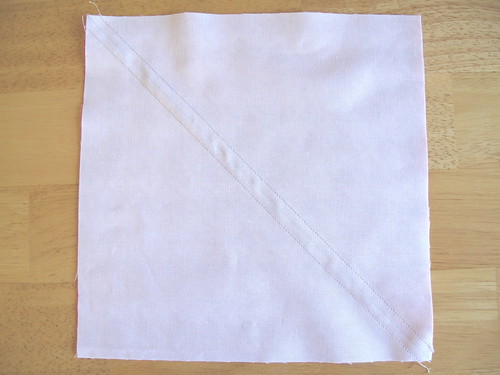
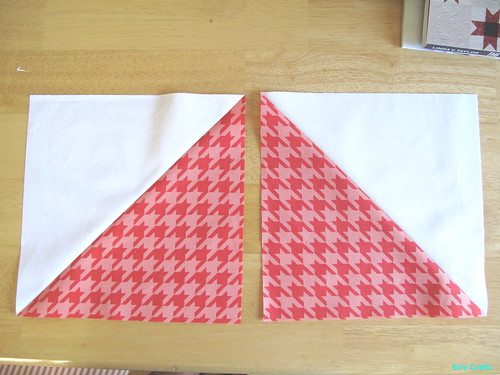
 tut 2 Using a 1/4" seam, sew a line on either side of the center line just drawn. Iron to set the stitch lines, and then cut along the drawn line. Tut 3 Fold out and press. You should end up with two squares that look like this. Now, trim down to 8 1/2" -- I like to make my HSTs oversized so I can trim them down to the exact size.  BUT, if you are an HST pro, if you start with 8 7/8" blocks, you should end up with an 8.5" square when your triangles are complete -- without any trimming!  Repeat with another solid 9" square and the 9" square of the same print.
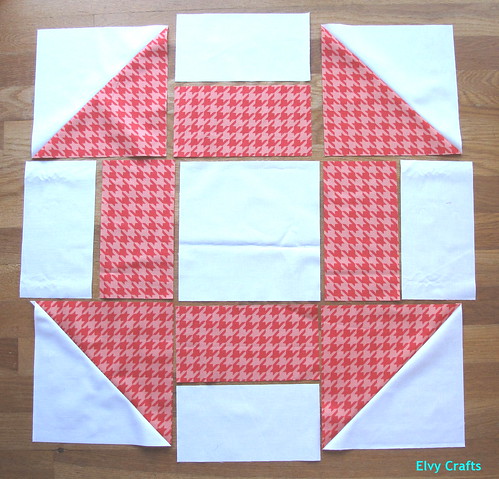
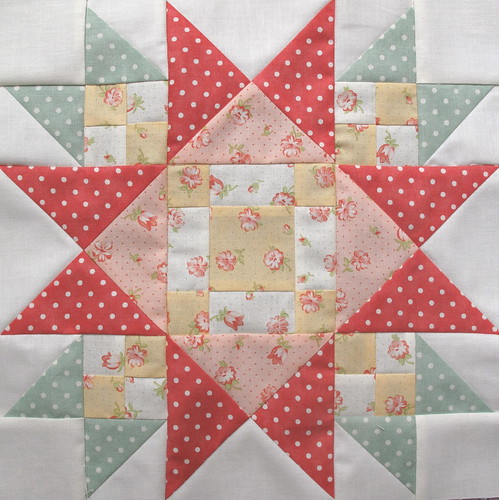
Tut 4 Put all your various pieces together like so, sewing one row at a time.  Once all the blocks were complete, I used a 3 x3 setting  to end up with a 72" x 72" top with no borders. BOM 7 Last, but not least, I finished the seventh block of the Mystery Designer's BOM from 2011. I am WAY behind on this.  Of course, I'm linking up to WIP Wednesday hosted by Freshly Pieced!

WIP Wednesday at Freshly Pieced

Sunday, December 4, 2011

Designer Mystery BOM - Blocks 3 & 4

Just one more block to go and then I'll be caught up...just in time for this month's block to arrive.  For more information on this block-of-the-month program, go to the Fat Quarter Shop.

Block 3 - "Pretty Pansy," by Carrie Nelson.
I'm a big Carrie Nelson fan, although I haven't actually made any of her quilt patterns.  I do have plans to make a couple of quilts from Schnibbles Times Two and Another Bite of Schnibbles.  But first, gotta get the holiday sewing started, as well as some birthday stuff.

Block 4 - "Rose Buds," by Anne Sutton.

Sunday, October 23, 2011

Designer Mystery BOM - Block 2

This was a very unproductive week sewing-wise.  This block was the only thing I managed to complete:

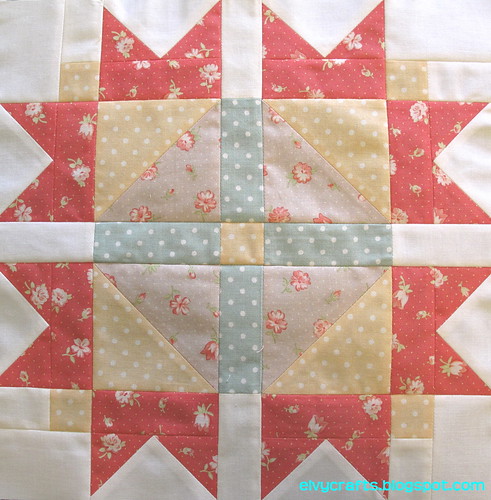
Block 2 - "Promise of Spring"
Pictures don't do these blocks justice in terms of how complicated the design is and how many steps are involved in piecing .This one, in particular, came together so neatly but did take me a while (an entire week) to complete.

See my first post for the deets.

Sunday, October 16, 2011

Designer Mystery Block-of-the-Month: Installment One

This is my first ever block-of-the-month program.  It's so exciting when when the kit arrives in the mail each month, like a little surprise, because you don't know what the block will look like or who designed it until it arrives on your doorstep. 

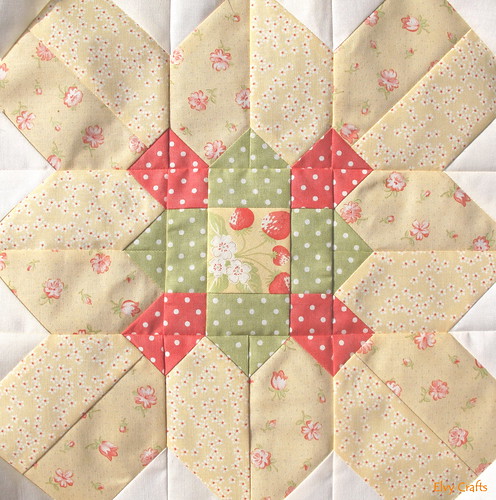
This is Block 1, called "Sweet Pea," designed by Bonnie Olaveson and Camille Roskelley.

I chose this program for the fabric, Strawberry Fields. I absolutely love this line but am kinda bummed that I didn't order the finishing kit right off. As far as I can tell, it's now sold out, as I can't find it on the store website, but I'll keep my eyes out for it. This BOM is offered exclusively by The Fat Quarter Shop, details here.

Getting better at piecing -- my corners are mostly spot-on!