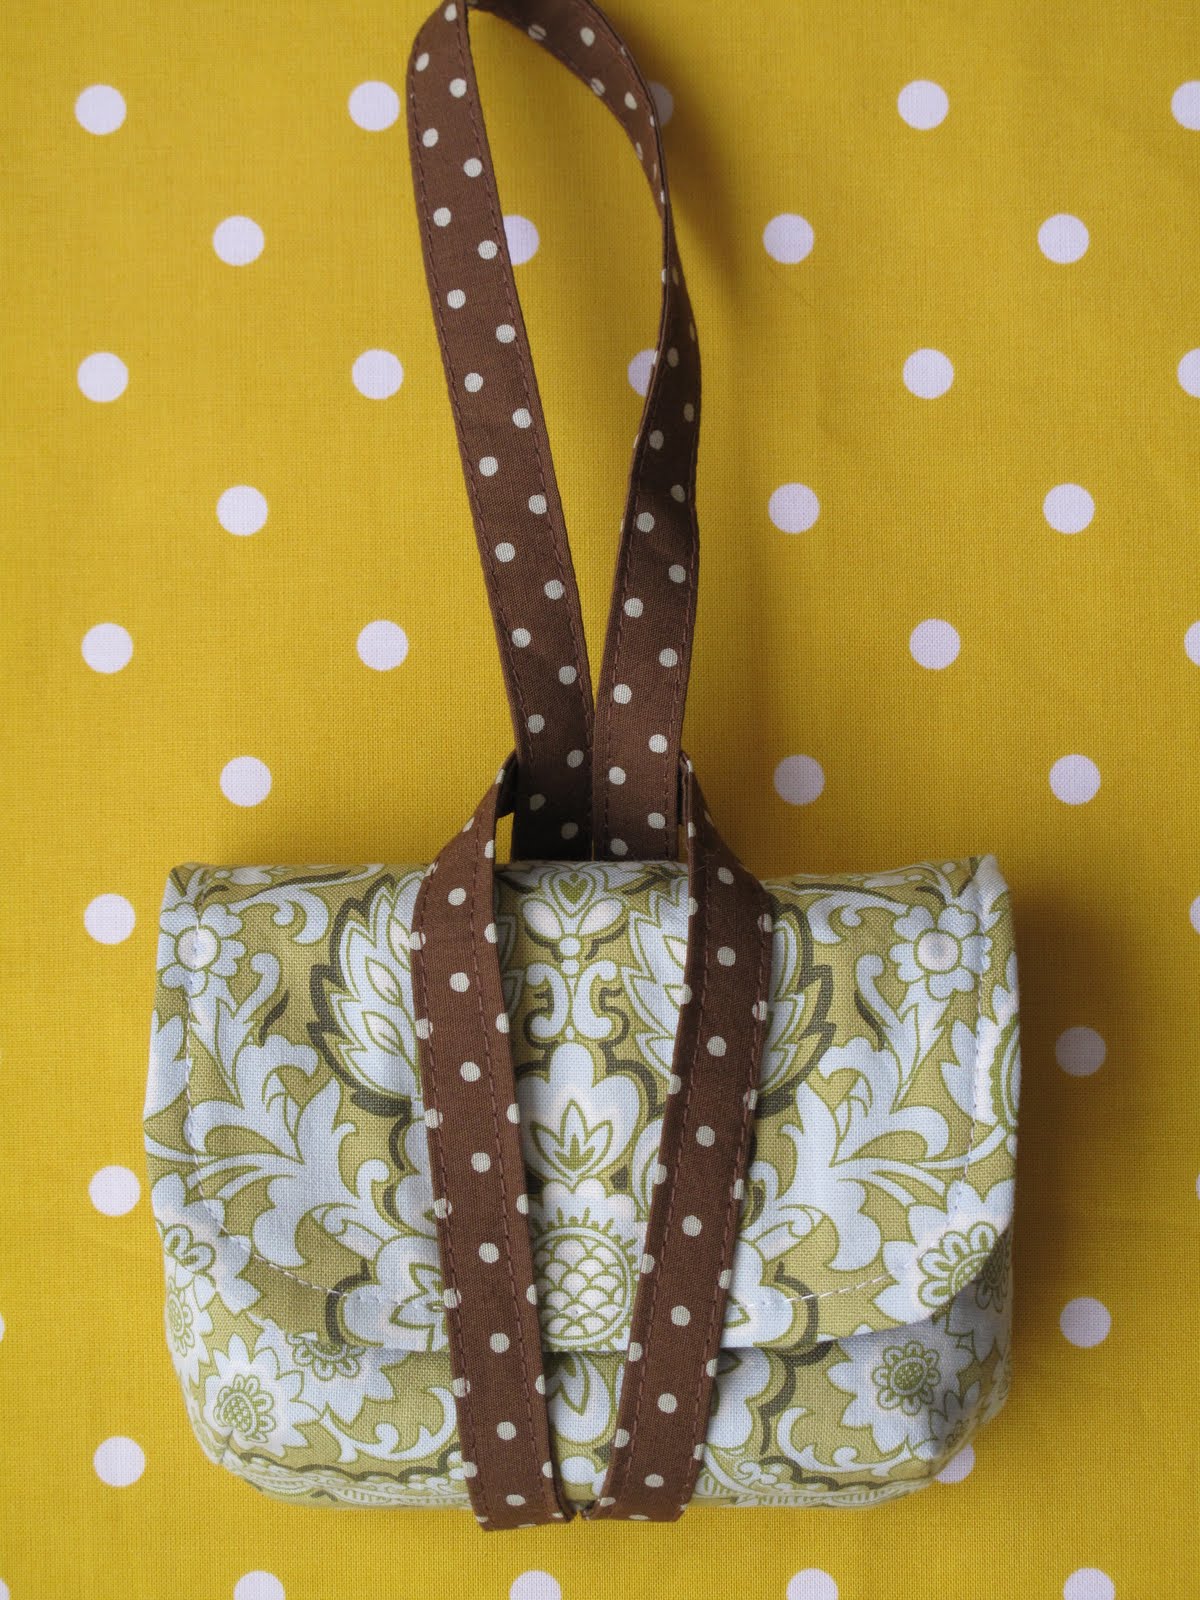
The design for the fold-over clutch is just so clever. This might be my favorite project to date:

The clutch measures about 11 inches wide at its widest point. Closed, as above, it is about six inches tall. Opened, as below, it is 11 inches tall (including the tab).

The fabric is
Amy Butler's daisy chain, left over from a previous project. I reversed the outer and lining fabrics in comparison to the matching wallet that I blogged about yesterday.

I might attach a button here, just for a decorative element. But, I think it looks good just as is, too. Next time, I would also put the batting on the underside of tab to provide extra support for the magnetic clasp. The pattern had called for fusible interfacing on the lining side, and batting on top side.

Once again, I quilted the lining fabric with a low-loft cotton batting using a box diamond pattern. It's not completely necessary, but I wanted to add some stability and didn't want to take the chance that the batting would eventually migrate. The pattern recommends not using fusible interfacing, but I did use a woven interfacing on the main fabric. I'm thinking that I could have probably used a fusible batting too. Maybe next time.

The pocket is on the front side of the clutch, not the back as standard. The patternmaker,
Keyka Lou, wrote that the pocket tended to gape when it was on the back side.


 The clutch measures about 11 inches wide at its widest point. Closed, as above, it is about six inches tall. Opened, as below, it is 11 inches tall (including the tab).
 The fabric is Amy Butler's daisy chain, left over from a previous project. I reversed the outer and lining fabrics in comparison to the matching wallet that I blogged about yesterday.
 I might attach a button here, just for a decorative element. But, I think it looks good just as is, too. Next time, I would also put the batting on the underside of tab to provide extra support for the magnetic clasp. The pattern had called for fusible interfacing on the lining side, and batting on top side.
 Once again, I quilted the lining fabric with a low-loft cotton batting using a box diamond pattern. It's not completely necessary, but I wanted to add some stability and didn't want to take the chance that the batting would eventually migrate. The pattern recommends not using fusible interfacing, but I did use a woven interfacing on the main fabric. I'm thinking that I could have probably used a fusible batting too. Maybe next time.
 The pocket is on the front side of the clutch, not the back as standard. The patternmaker, Keyka Lou, wrote that the pocket tended to gape when it was on the back side.