I don't think I've ever done this before, but I already have my binding prepped! For not just one, but two quilts! Are worlds colliding yet?
 |
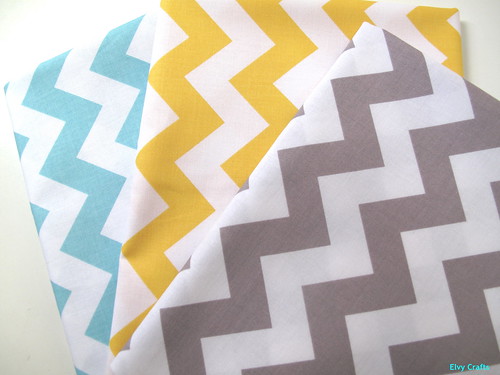
| Vintage Modern binding for Giant Churdash |
 |
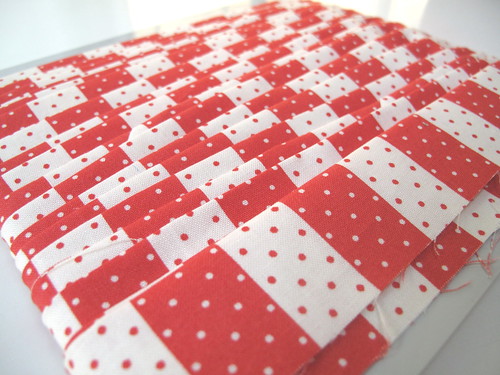
| Basic Gray binding for Scrappy Hunter's Stars |
That said, here are the rest of the instructions for the Giant Churndash blocks. Click on this
link to view the original post.
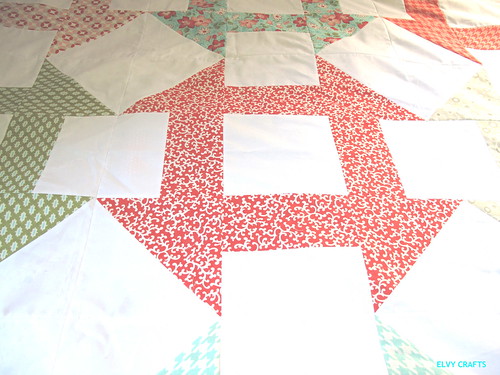
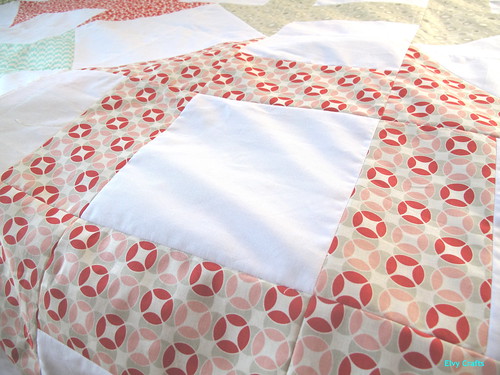
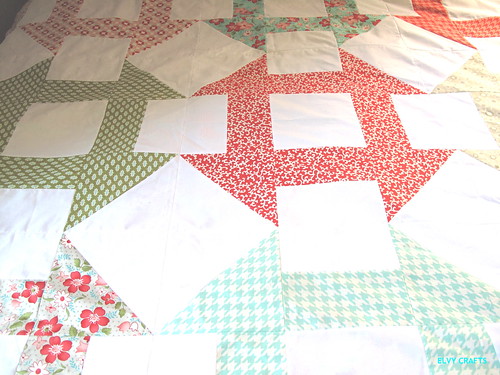
CUTTING INSTRUCTIONS - SOLID FABRIC
You will need approximately 3 yards of a contrasting solid -- for this quilt I used Kona in white.
Cut (7) strips 8.5" x WOF; keeping the strip in two layers, subcut as follows:
a. (2) strips - 8.5"; 8.5"; 4.5" - you should end up with (8) 8.5" square and (4) 8.5" x 4.5" rectangle;
b. (1) strip - 8.5"; 4.5", 4.5" - You should end up with (2) 8.5" square and (4) 8.5" x 4.5" rectangle
c. (4) strips - 4.5" rectangles - cut a total of 28 rectangles - there should be some left over fabric
Cut (5) strips 9" x WOF - subcut each strip into 9" squares for a total of 18 squares.
Make the half square triangles (HST)
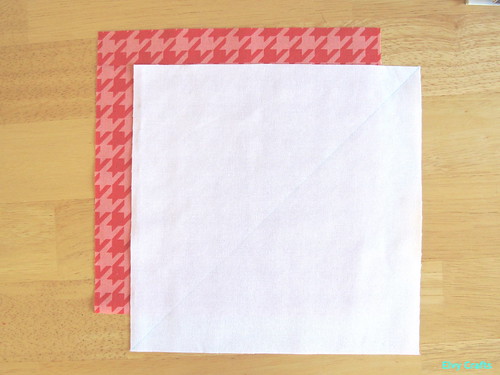
Using one 9" square of the solid, draw a diagonal line through the center. Layer with one 9" print square like so.
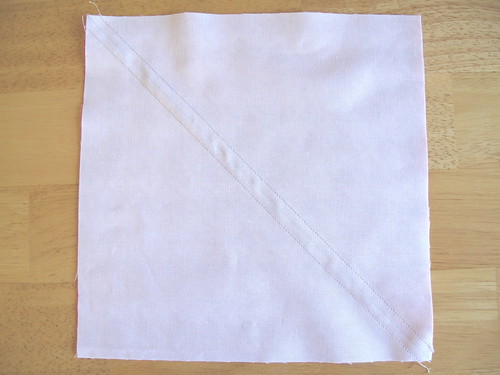
Using a 1/4" seam, sew a line on either side of the center line just drawn. Iron to set the stitch lines, and then cut along the drawn line.

Fold out and press. You should end up with two squares that look like this. Now, trim down to 8 1/2" -- I like to make my HSTs oversized so I can trim them down to the exact size. BUT, if you are an HST pro, if you start with 8 7/8" blocks, you should end up with an 8.5" square when your triangles are complete -- without any trimming! Repeat with another solid 9" square and the 9" square of the same print.
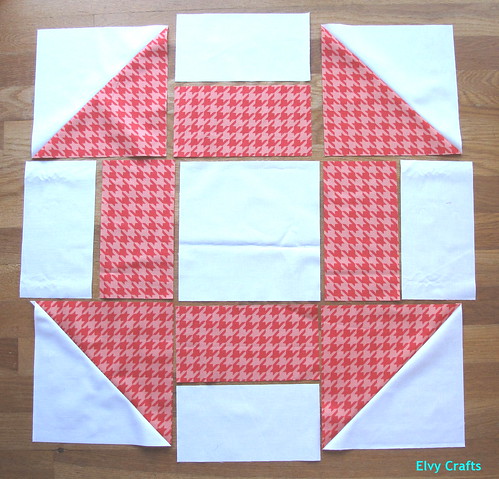
Put all your various pieces together like so, sewing one row at a time. Once all the blocks were complete, I used a 3 x3 setting to end up with a 72" x 72" top with no borders.
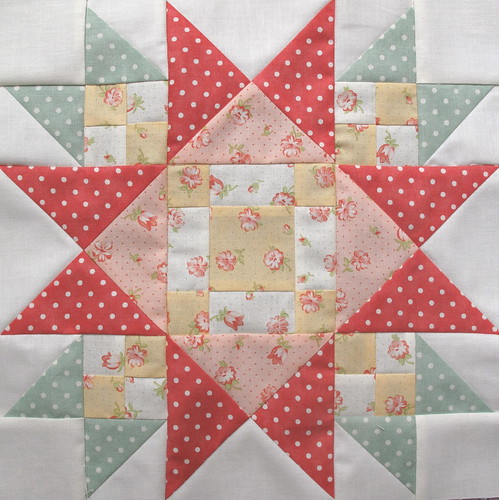
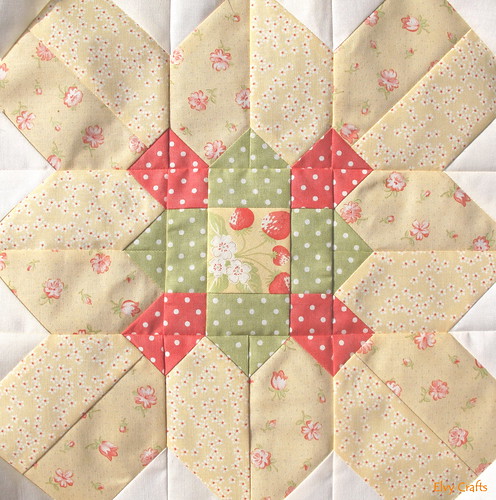
Last, but not least, I finished the seventh block of the Mystery Designer's BOM from 2011. I am WAY behind on this. Of course, I'm linking up to WIP Wednesday hosted by Freshly Pieced!


 This week was somewhat of a transitional week -- the boys just finished the last of their summer camps, and we are now getting ready to go back to school (finally, phew).
So, given all that, plus work and visits from out-of-town family, this was all I was able to complete. It's the eighth block from the Mystery Designer BOM 2011. Yes, that's right, I'm still that far behind. I'm linking to these two awesome blogs today!
This week was somewhat of a transitional week -- the boys just finished the last of their summer camps, and we are now getting ready to go back to school (finally, phew).
So, given all that, plus work and visits from out-of-town family, this was all I was able to complete. It's the eighth block from the Mystery Designer BOM 2011. Yes, that's right, I'm still that far behind. I'm linking to these two awesome blogs today!